Note: This is one in a series of blog posts that shows a quick example of the quality visuals that can be created using home visualization software. For other ‘Before & After’ pictures in this series, click on another product: Sheds, Siding, Bedrooms (coming soon!), Roofing (coming soon!), & Countertops (coming soon!)
Below you will see one ‘before’ photo and two ‘after’ designs of a potential flooring project.
Flooring contractors can create these type of designs easily with quality home visualization software. Designs that are custom engage homeowners on a deeper level than standard samples or stock photos.
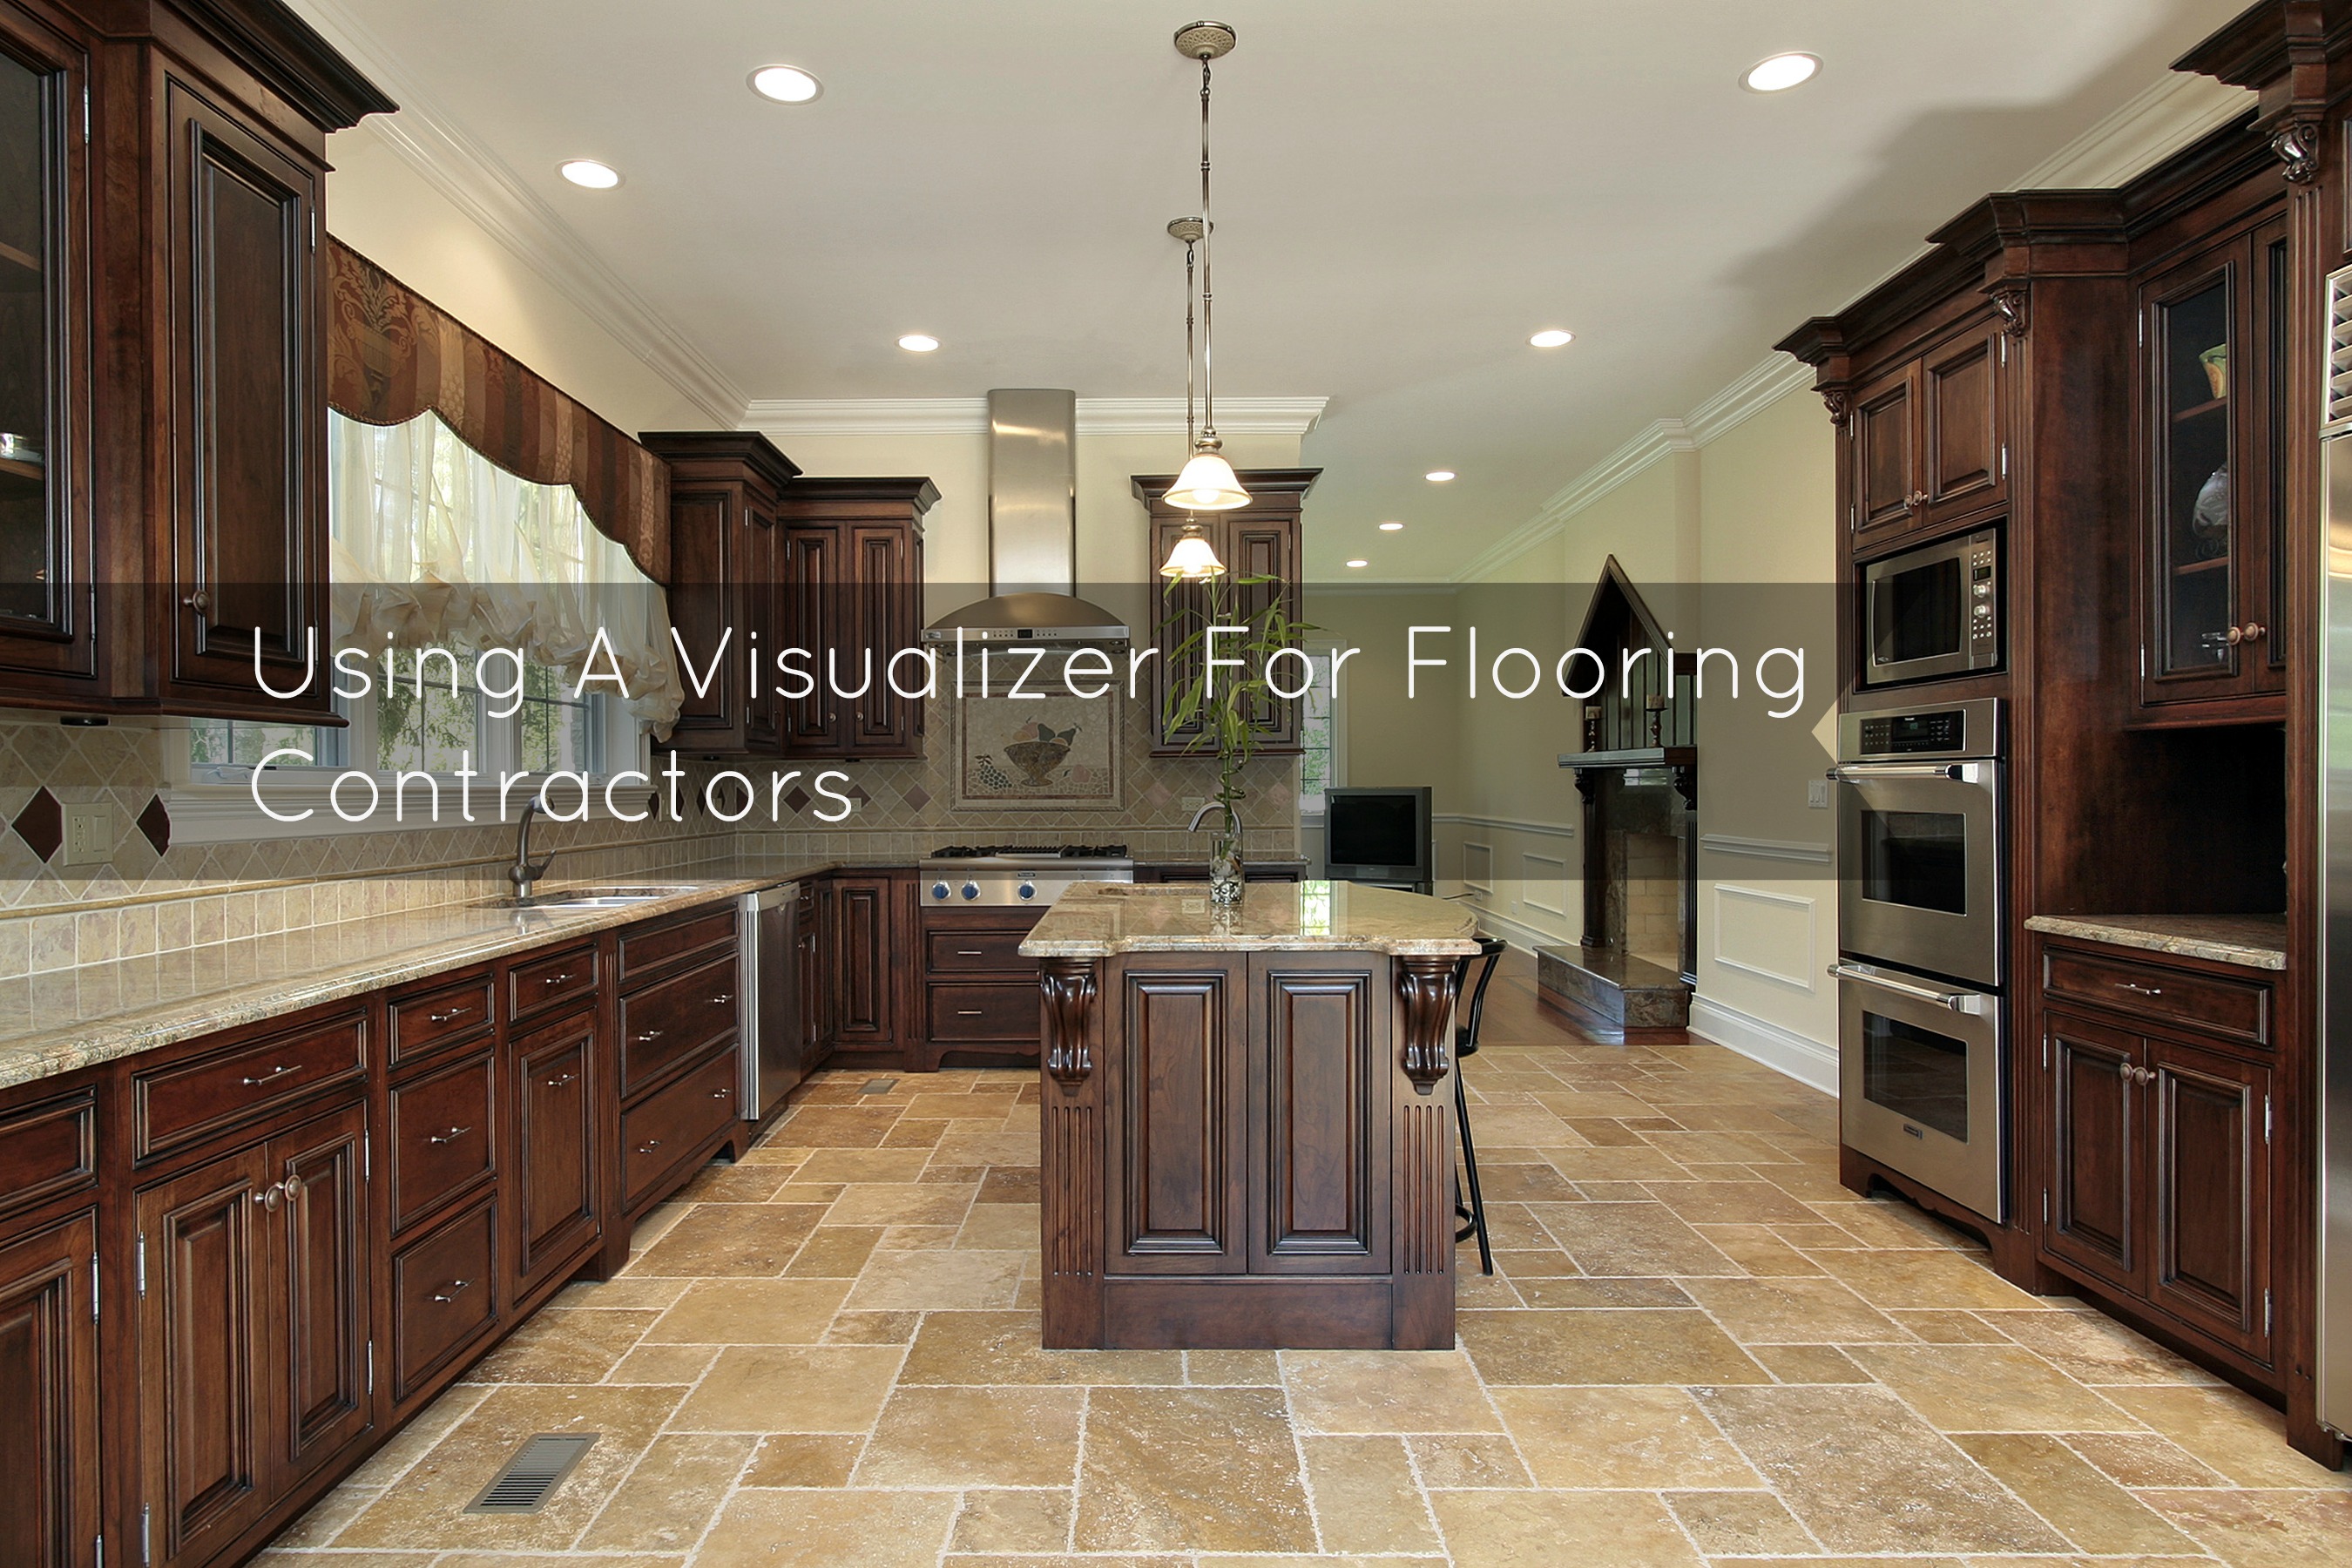
The first step is to get a good photo of the project area.
‘BEFORE’ PICTURE: Snap a photo of the current floor space, as it looks now.

Once you have a good photo, you upload it into the visualizer.
With a few clicks of prep work, you are ready to show your prospect exactly how your products will look installed on their floor.
HERE ARE ‘AFTER’ DESIGNS: Your prospects can see new flooring options and have the fun of shopping for exactly what they want.
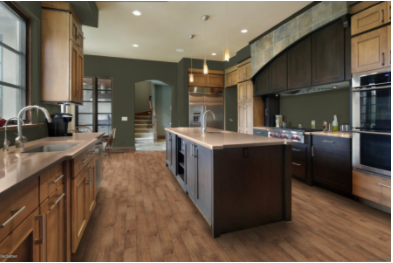

From here, you can continue to show as many ‘After’ designs as the homeowner wants to see using a few simple clicks.
Are you a flooring contractor that wants to learn more about home visualization software? Free demos are a great way to discover more without any obligation. Contact us to schedule a demonstration.